Start Seeds Indoors the Right Way: No More Leggy Seedlings
January is prime time to start seeds indoors — but if you’ve ever grown spindly, weak seedlings that stretch desperately toward the light, only to collapse before transplanting, you’re not alone.
The problem isn’t your soil or your seeds. It’s usually light and timing.
Many urban gardeners start too early, use a dark windowsill, or skip supplemental lighting — setting their plants up for failure from day one.
But with a few simple adjustments, you can grow strong, compact, healthy seedlings — ready to thrive outdoors in spring.
In this guide, you’ll discover:
- The #1 mistake people make when starting seeds
- How much light your seedlings really need
- A foolproof step-by-step setup for small spaces
- Why legginess happens — and how to prevent it
Let’s grow strong roots — literally.
🌱 Why “Leggy Seedlings” Are So Common in January
A leggy seedling is tall, thin, pale, and fragile — like it’s been stretching through darkness.
This happens because:
- Not enough light → plant stretches to survive
- Starting too early → grows weak before outdoor conditions are safe
- Using cold soil → slows root development
- Crowded trays → competition increases upward growth
According to the Royal Horticultural Society, over 60% of indoor seed-starting attempts fail due to insufficient light or poor temperature control.
But the good news? It’s easy to fix.
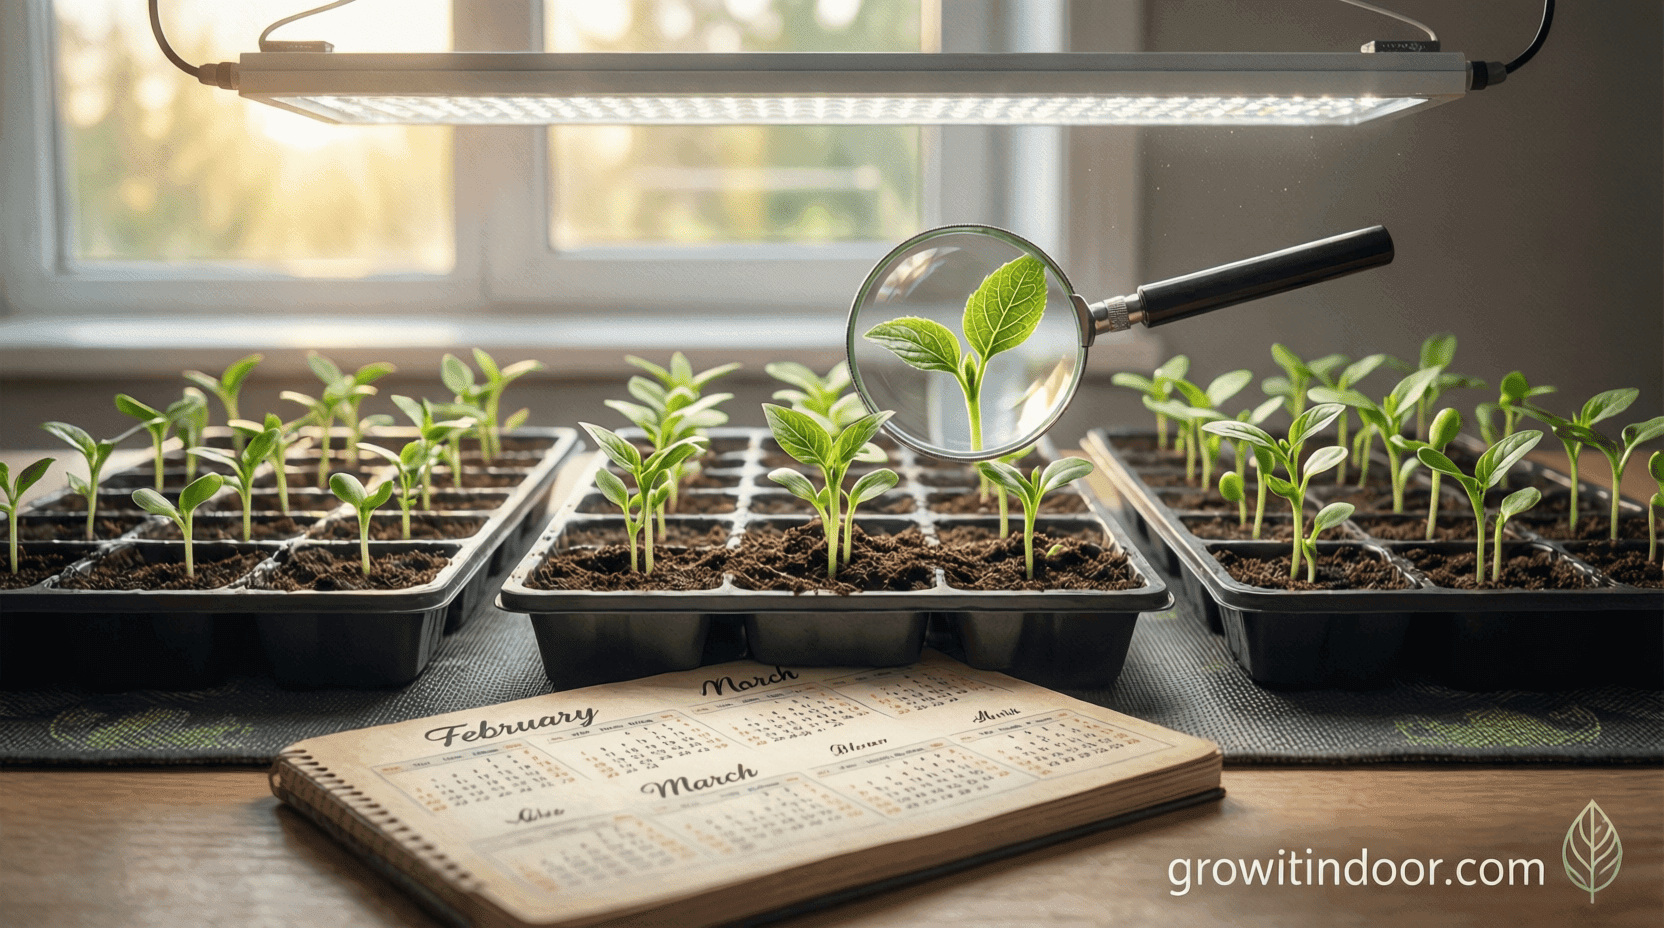
☀️ Step 1: Understand Your Light Needs
Natural sunlight from a window is rarely enough in winter.
Most vegetable and herb seedlings need:
- 14–16 hours of bright light per day
- Full-spectrum light (mimics sunlight)
- Consistent intensity (no shadows or dim corners)
💡 Reality check: A south-facing window gives about 6–8 hours of usable light — far less than required.
That’s why LED grow lights are essential for serious seed starting.
Best Budget-Friendly Options:
| Light | Coverage | Price Range |
|---|---|---|
| Roleadro 6000K LED Strip | 2–3 trays | ~$25 |
| Mars Hydro TS 60 | Up to 2’x2′ | ~$60 |
| GE Solano Cclamp | Single jar/mini tray | ~$30 |
📌 Pro Tip: Hang lights 2–4 inches above seedlings and adjust daily as they grow.
🔗 Source: University of Vermont Extension – Starting Seeds Indoors
📅 Step 2: Time Your Sowing Correctly
Starting too early leads to overcrowded, stressed seedlings by spring.
Use this general rule:
Sow seeds 6–8 weeks before your last expected frost date.
For most temperate zones:
- Tomatoes & peppers: Start late February to mid-March
- Basil & eggplant: Mid-March
- Leafy greens (lettuce, kale): Can start now in January if using indoor harvest system
📌 Tip: Use an app like “Gardenate” or “Planter” to get personalized planting dates based on your location.
🛠️ Step 3: Set Up Your Seed Station (Small Space Friendly)
You don’t need a greenhouse. Just a clean, warm spot and a few tools.
What You Need:
- Seed trays or recycled containers (yogurt cups, egg cartons)
- Seed-starting mix (light, sterile — never garden soil)
- Labels & pen
- Spray bottle (for gentle watering)
- Heat mat (optional but helpful) → keeps soil at 70–75°F (ideal for germination)
- LED grow light with timer
Setup Steps:
- Fill trays with moistened seed mix.
- Plant seeds at depth recommended on packet.
- Label immediately.
- Mist gently and cover with plastic dome or wrap.
- Place under light and plug into timer (14–16 hrs/day).
- Once sprouted, remove cover and lower humidity.
📌 Note: Bottom heat boosts germination — especially for peppers and eggplants.
💧 Step 4: Water Like a Pro
Overwatering drowns seeds. Underwatering halts growth.
Use the bottom-up method:
- Add water to the tray beneath the pots
- Let soil absorb moisture naturally
- Remove excess after 20 minutes
Avoid spraying directly on tiny sprouts — it can spread fungal diseases.
Check daily: Soil should feel cool and slightly damp — never soggy.
🔄 Step 5: Prevent Legginess Before It Starts
Once seedlings stretch, they won’t thicken back up.
Prevent it with:
- Constant light access (no interruptions)
- Airflow (use a small fan on low — mimics wind, strengthens stems)
- Thinning (remove weaker seedlings so others aren’t shaded)
- Correct spacing (don’t overcrowd — 1–2 inches between plants)
💡 Bonus Tip: Gently brush your hand over tops of seedlings daily — this tactile stress encourages sturdier growth.
🌿 Step 6: Transplant & Harden Off
When seedlings have 2–3 true leaves, move them to individual pots.
Use organic potting mix and handle by leaves (not stem).
Then, harden off before moving outside:
- Start with 1 hour in shade
- Increase exposure daily over 7–10 days
- Watch for wind damage and sunburn
Never rush it — even one sunny afternoon can fry unacclimated plants.
✅ Printable Seed-Starting Success Checklist
| Task | Done? |
|---|---|
| Choose correct start date | ☐ |
| Gather supplies | ☐ |
| Label all trays | ☐ |
| Use seed-starting mix (not soil) | ☐ |
| Provide 14–16 hrs of light daily | ☐ |
| Keep soil warm (heat mat if needed) | ☐ |
| Water from below | ☐ |
| Thin crowded seedlings | ☐ |
| Transplant to larger pots | ☐ |
| Begin hardening off process | ☐ |
📥 Download PDF version → [Link to be added]
❌ Common Mistakes to Avoid
- Using garden soil → compacts and may carry disease
- Skipping labels → “Which one was the chili?”
- Placing under a dim window without extra light → guaranteed legginess
- Overwatering → damping-off fungus kills seedlings fast
💡 Final Thought: Strength Grows in Stillness
A strong plant doesn’t race toward the light — it grows steadily, supported by warmth, rhythm, and care.
Just like you.
So this year, let your seedlings — and your intentions — grow deep before they rise.
Because real strength begins underground.