Compact Balcony Garden Design in 10 Easy Steps
Your balcony doesn’t need to be large to be lovely. With smart planning, even the tiniest outdoor space can become a compact balcony garden that’s both productive and peaceful.
Whether you have a Juliet balcony, a narrow ledge, or a modest terrace, this 10-step guide will help you design a space that maximizes every inch, grows fresh food, and feels like a personal retreat.
From layout planning to plant selection and decor, we’ll walk you through building a small balcony garden that reflects your style and suits your lifestyle.
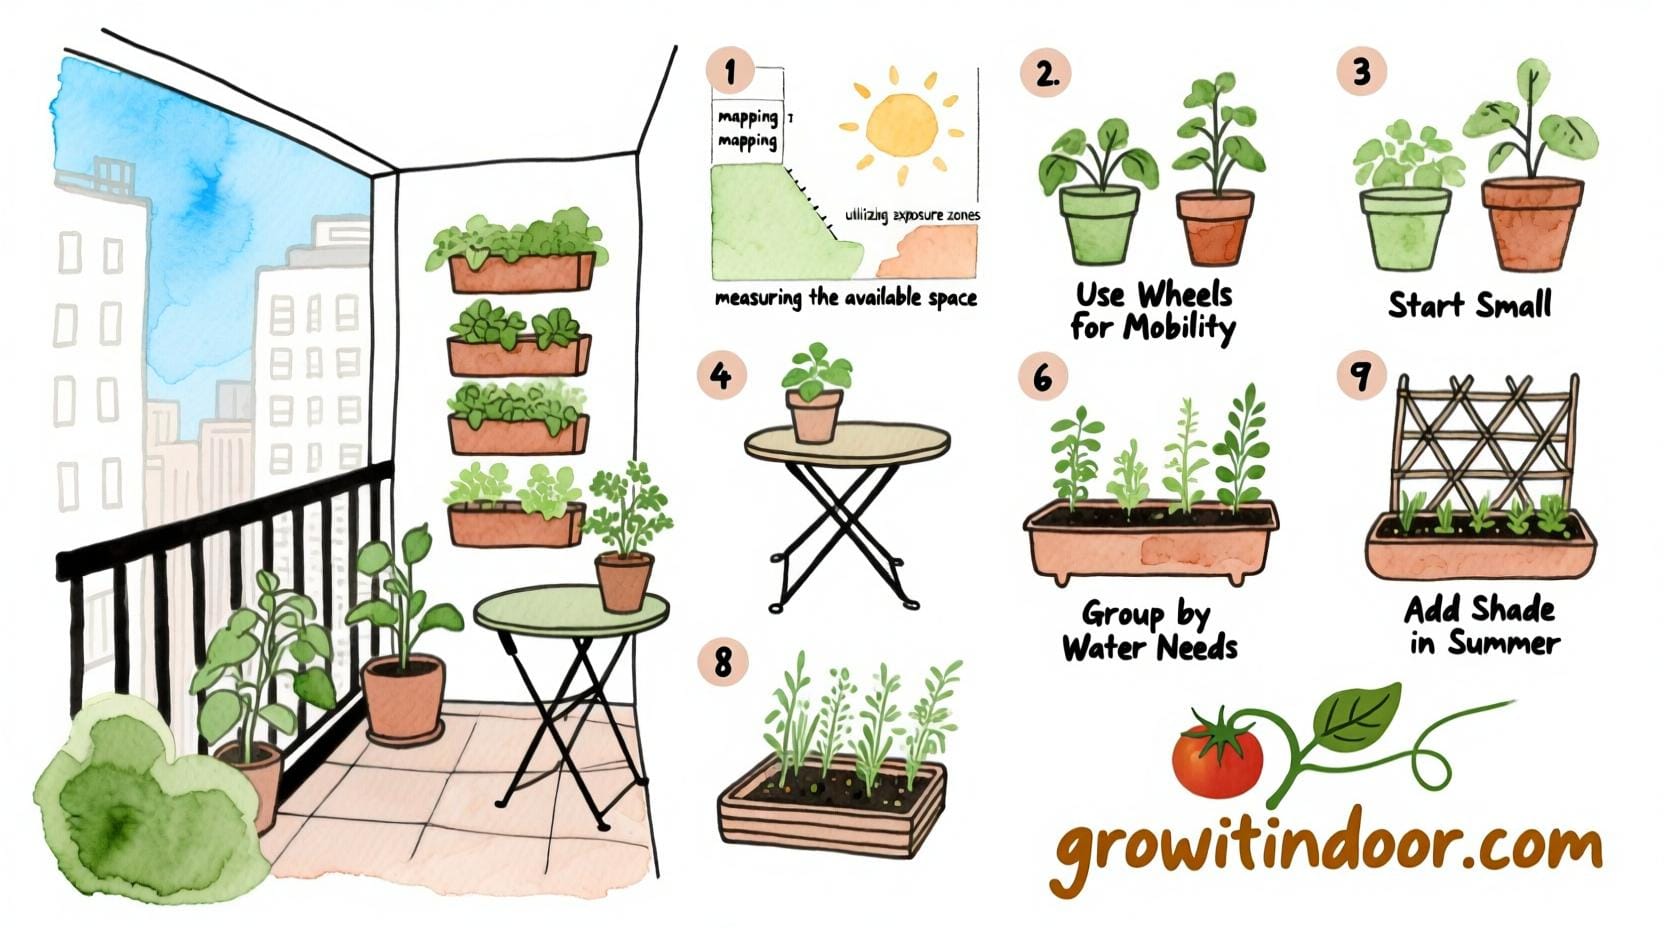
Step 1: Measure and Map Your Space
Before buying a single pot, measure your balcony :
- Length and width
- Height clearance (for hanging planters)
- Weight limits (check building rules)
- Sun exposure (track light for a full day)
Sketch a simple floor plan on graph paper or use a free app like MagicPlan to visualize layouts.
Step 2: Define Your Garden’s Purpose
Ask yourself: What do you want from your balcony?
- A kitchen herb garden ?
- A cozy reading nook ?
- A flower-filled sanctuary ?
- A mini urban farm ?
Defining your purpose helps prioritize space usage.
Step 3: Choose a Layout That Works
📐 Popular Balcony Garden Layouts:
- L-Shaped: Fits corner balconies; separates seating from growing zones
- Linear: Ideal for narrow spaces; place planters along one side
- Zoned: Divide into growing, relaxing, and storage areas
- Foldable: Use collapsible furniture for maximum flexibility
👉 Tip: Leave at least 2 ft of walking space.
Step 4: Pick the Right Containers
Use a mix of:
- Rail planters – Save floor space
- Hanging baskets – Add vertical interest
- Tiered stands – Maximize light exposure
- Self-watering pots – Reduce maintenance
Choose lightweight materials (fiberglass, plastic) to reduce load.
Step 5: Go Vertical
Install:
- Wall-mounted planters
- Trellises for climbing beans or cucumbers
- Pocket gardens for herbs
- Hanging gutters for lettuce
Vertical gardening can double your growing area without expanding your footprint.
Step 6: Select the Best Plants
Match plants to your balcony’s light:
- Full Sun (6+ hrs): Tomatoes, peppers, basil, marigolds
- Partial Sun: Lettuce, chard, mint, begonias
- Shade: Ferns, hostas, ivy, lemon balm
Choose compact or dwarf varieties for containers.
Step 7: Use Smart Storage
Maximize space with:
- Benches with hidden storage
- Stackable pots
- Foldable bistro sets
- Wall-mounted tool racks
Keep soil, tools, and watering cans organized and out of the way.
Step 8: Add Comfort & Style
Turn your compact balcony garden into a livable space:
- Outdoor rug and cushions
- String lights or solar lanterns
- Small table for coffee or dinner
- Mirror to reflect light and enlarge the space
👉 Idea: Use a retractable awning or bamboo screen for shade and privacy.
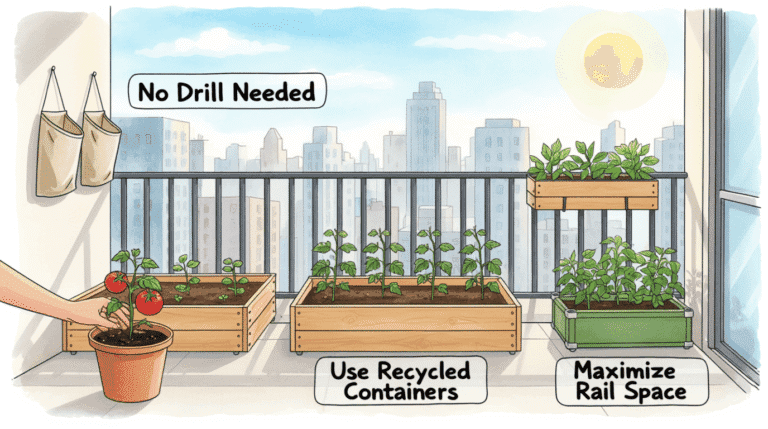
Step 9: Make It Renter-Friendly
If you rent:
- Use freestanding planters (no drilling)
- Avoid permanent structures
- Choose lightweight, movable pots
- Use temporary hooks for hanging baskets
All setups should be removable and non-damaging.
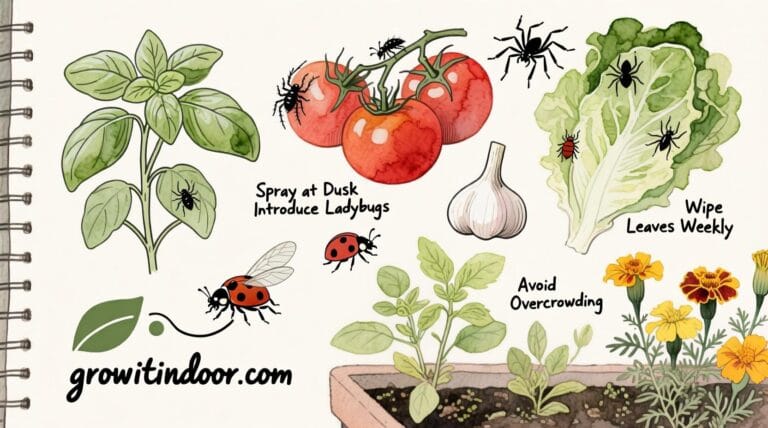
Step 10: Maintain with Ease
Create a simple care routine:
- Water in the morning
- Harvest regularly
- Rotate plants for even growth
- Clean surfaces monthly
Use drip trays to protect flooring and reduce mess.
Final Thoughts: Small Space, Big Impact
A compact balcony garden isn’t about size—it’s about intention. With thoughtful design, you can grow food, enjoy fresh air, and create a beautiful outdoor escape—even in the heart of the city.
Start small, follow these 10 steps, and watch your little balcony transform into a green haven.


Reading your article helped me a lot and I agree with you. But I still have some doubts, can you clarify for me? I’ll keep an eye out for your answers.
I don’t think the title of your article matches the content lol. Just kidding, mainly because I had some doubts after reading the article.
Can you be more specific about the content of your article? After reading it, I still have some doubts. Hope you can help me.
Your point of view caught my eye and was very interesting. Thanks. I have a question for you. https://www.binance.info/register?ref=IXBIAFVY
Thank you for your sharing. I am worried that I lack creative ideas. It is your article that makes me full of hope. Thank you. But, I have a question, can you help me?
Can you be more specific about the content of your article? After reading it, I still have some doubts. Hope you can help me.
Your point of view caught my eye and was very interesting. Thanks. I have a question for you.
I don’t think the title of your article matches the content lol. Just kidding, mainly because I had some doubts after reading the article.
Can you be more specific about the content of your article? After reading it, I still have some doubts. Hope you can help me.